Smooth Coil Pot Mrs. Milewski's Digital Classroom
Step 3: Attach the First Coil to the Base. Using your fingers or a clay tool, press the first coil onto the base of your pot, creating a ring. Smooth the edges to ensure a tight bond between the coil and the base. Make sure not to overlap the coil, as this can cause uneven walls. While attaching the coil, imagine that you are putting a belt.
Smooth Coil Pot Mrs. Milewski's Digital Classroom
The first step in coil pottery is to roll out the clay. This can be done by hand or with a machine. If you are using a machine, make sure the clay is well-conditioned first. Once the clay is rolled out, use a knife or other sharp object to cut it into long, thin coils. Next, start stacking the coils on top of each other.
Smooth Coil Pot Mrs. Milewski's Digital Classroom
December 28, 2022 Pottery Advertisement Coiling is a pottery technique in which ropes of clay are used to build up a desired shape. This technique is often used for creating bowls, vases, and other vessels. It can also be used for sculpture and other decorative objects.

by SpongeyBubble a year ago Coil pots, Ceramics pottery art, Clay
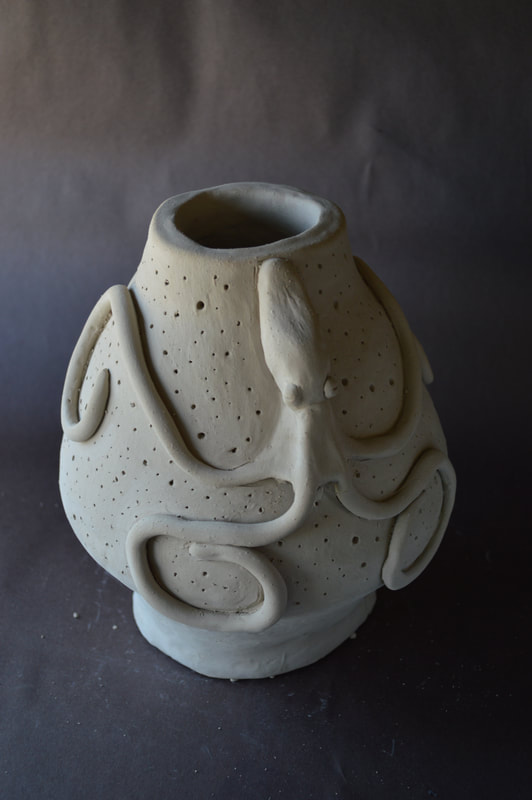
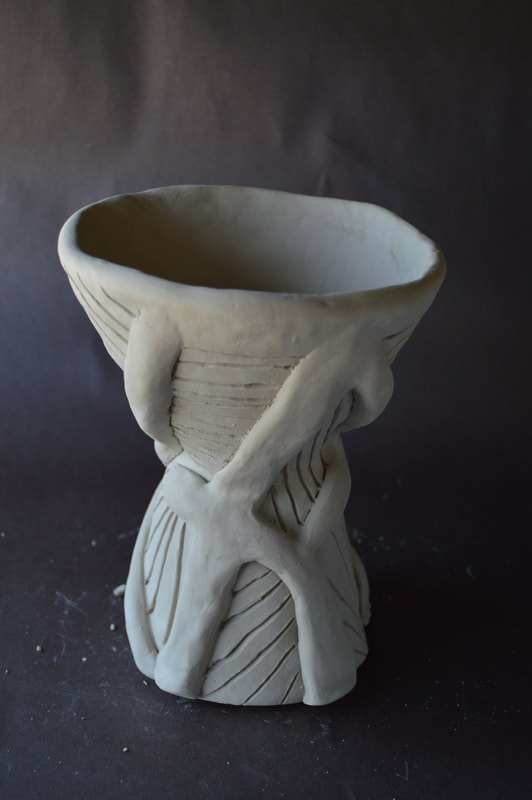
Coiled pots are constructed by gradually stacking and joining coils of clay one on top of the other. The coils can be left visible or can be smoothed away depending on your desired aesthetic end result. It is important that the coils join well during construction to avoid cracking or separation during the drying and firing process.
Smooth Coil Pot Mrs. Milewski's Digital Classroom
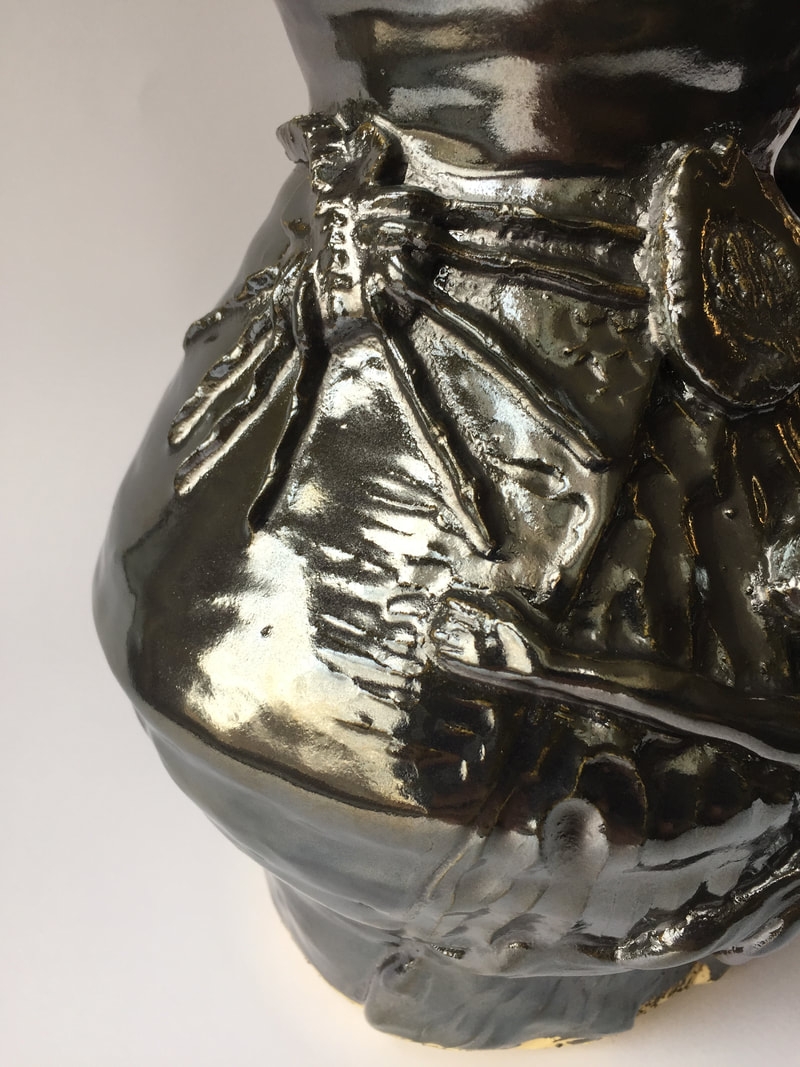
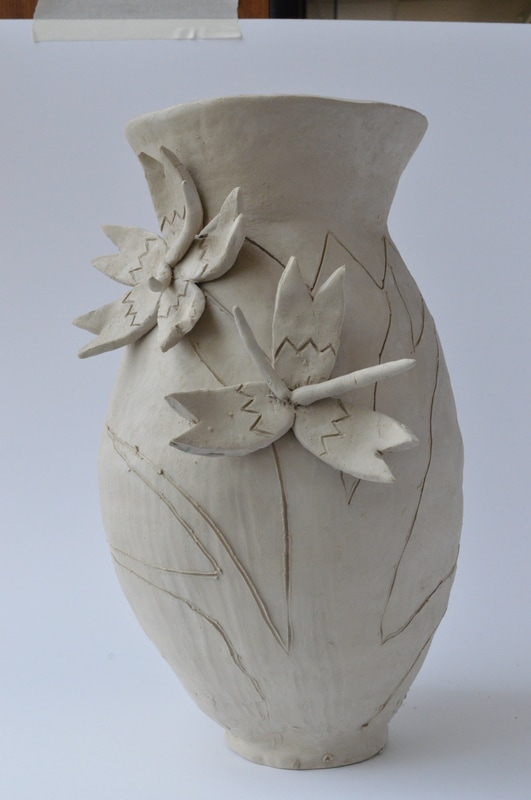
Smooth coil pottery is a beautiful clay coiling technique that can make attractive clay creations. Being incredibly easy to build, if you want to try out any of the clay coiling techniques, you can readily resort to trying it out. For this technique, first, take an adequate portion of well-kneaded clay. Carve out a slab of clay and transform it.
Smooth Coil Pot Mrs. Milewski's Digital Classroom
Steps how to make a smooth coil pot

Coil pots, Coil pottery, Pottery
1 Situate your work surface. Most clay workers like to work on smooth, firm, and non-porous surfaces while handling and molding their clay. [1] Work surfaces can be large countertop-like tables made of glass, acrylic, or marble, or smaller surfaces like individual ceramic tiles, plexiglass sheets, or wooden slabs about 12 x 12".
.jpeg)
Creative Thinker 3rd Grade Spotlight Coil Pots
Roll out a coil. Attach the coil using a bonding pinch. Thin and raise the pot wall using a flat pinch. Scrape smooth and shape using a rib or scraper. Repeat steps 2 through 5 until you reach the desired size or run out of clay. Trim down the rim of your pot using with a knife then smooth with wet fingers.

Large coil pot coilbuilding coilBuilds Coil pottery, Coil pots
Step 1 - Make a Batch of Coils The first step when making a smooth coil pot is to make a batch of coils before you begin. That way, you will have a stack of coils to work with. And you won't need to stop coiling your pot to make more. I usually make about 5 long coils and cover them with a plastic bag to stop them from drying out.

Ceramic coil pots www pixshark com images galleries Coil pottery
And the smooth polished surface of the coil pots was a way of expressing "warmth, generosity, hope, and calm". (E.Cooper source) 18) Monica Young. Monica Young (1929-2004) was born in Paris and moved to England in 1938. Young trained originally as a painter and became a self-taught ceramicist in her 40s. She is known for making very large.

8th grade expression coil pots Coil pots, Visual art, Creative
The basic process of making a smooth coil pot starts off like making a simple coil pot as described above. Step 1. Roll out a slab of clay about ¾ of an inch thick. Then cut out a circle of clay from the slab to make the base of the pot. Step 2.
Smooth Coil Pot Mrs. Milewski's Digital Classroom
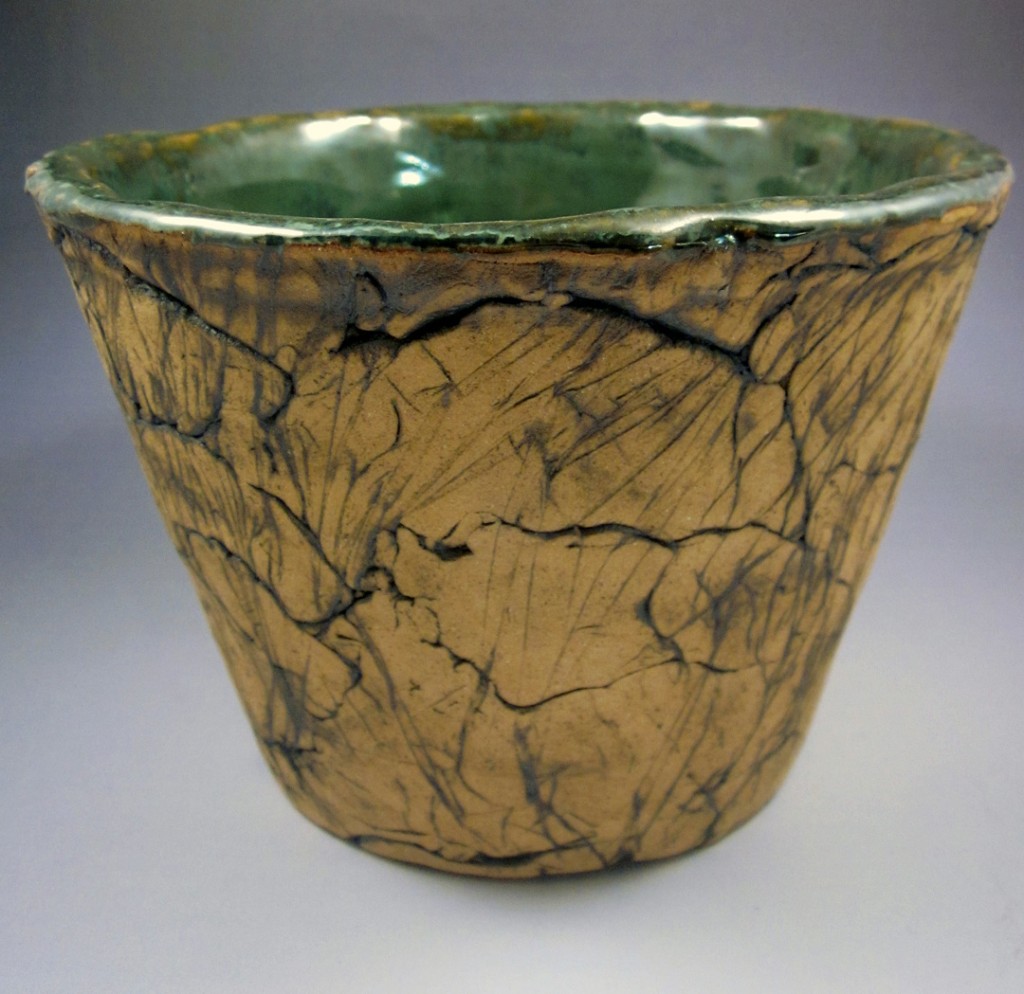
32.0K This article is a step-by-step guide on how to make easy coil pots. The basic coil pottery technique is versatile. Once you have got the hang of coiling you use these skills to make all sorts of hand-built pottery. However simple coil pots can in themselves look great, especially if they are well made.
Smooth Coil Pot My Ceramics Portfolio
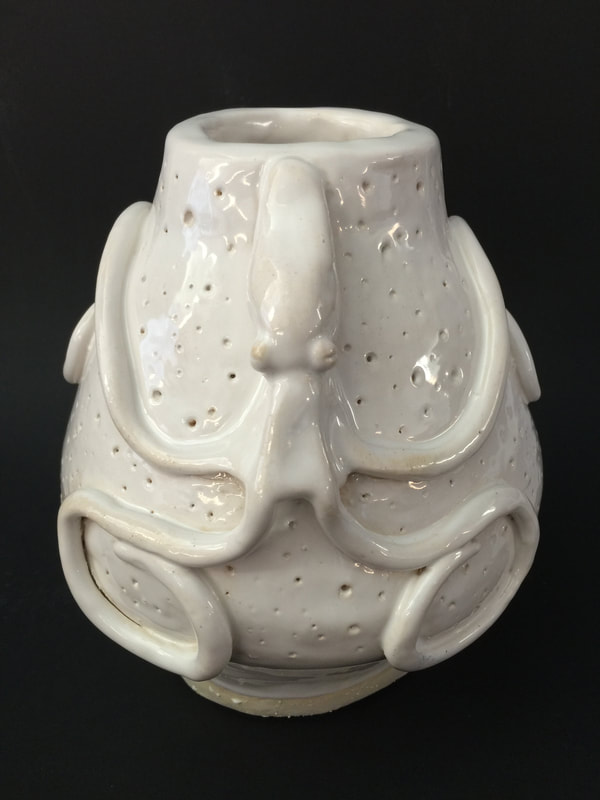
Things you need to know before opting for making coil pottery: So, here are a few things that you need to consider before creating coil pottery.. After joining the coil properly to the base, you need to merge the joints of the coil layers if you want to get a smooth surface. You can use your fingers to smooth the coil.

Smooth Coil Pot Mrs. Milewski's Digital Classroom
Clay coil pottery is a technique that has been used for centuries to create beautiful and functional vessels. It involves shaping long, snake-like coils of clay and carefully joining them together to build the walls of a pot. This method offers versatility in creating various shapes and forms, making it a favorite among potters.

Smooth Coil Pot Mrs. Milewski's Digital Classroom
733 29K views 3 years ago Hand Building Pottery Coil pottery is very versatile. You can either leave the decorative coils showing, or you can make a smooth coil pot. In this video, I.
Smooth Coil Pot Mrs. Milewski's Digital Classroom
Coil pottery is a method of handbuilding pottery where a potter forms a base, walls, and style by combining clay coils (or cylinders). The potter rolls the clay into coils, stacks the coils together, and joins the coils through pressure creating a vessel. Coil pots are one of 3 ways to make a functional form of pottery called handbuilding.